")


Debian I2P Packages
Debian or Ubuntu, All Versions
The Debian packages should work on most platforms running:- Ubuntu (Bionic 18.04 and newer)
- Mint(Tara19) or newer
- Debian Linux (Buster and newer)
- Knoppix
- Option 1: Recent versions of Ubuntu and its derivatives (Try this if you're not using Debian)
- Option 2: Debian (including Debian-derivatives)
Instructions for Ubuntu and derivatives like Linux Mint & Trisquel
Adding the PPA via the command line and installing I2P
-
Open a terminal and enter:
sudo apt-add-repository ppa:i2p-maintainers/i2p
This command will add the PPA to/etc/apt/sources.list.dand fetch the gpg key that the repository has been signed with. The GPG key ensures that the packages have not been tampered with since being built. -
Notify your package manager of the new PPA by entering:
sudo apt-get update
This command will retrieve the latest list of software from each repository that is enabled on your system, including the I2P PPA that was added with the earlier command. - You are now ready to install I2P!
sudo apt-get install i2p
Adding the PPA Using the Software Center
-
Open "Software and Updates" via the applications menu.
-
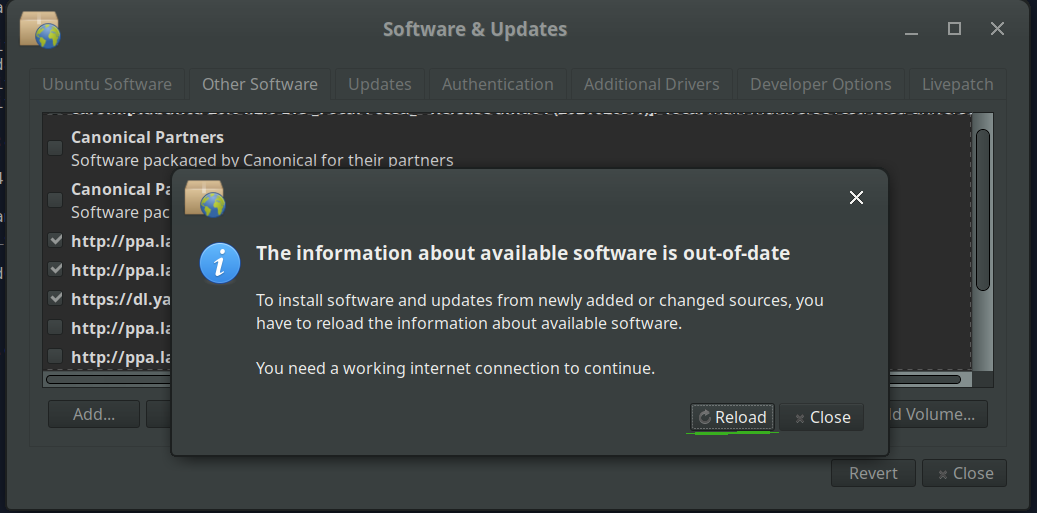
Select the "Other Software" tab and click the "Add" button at the
bottom to configure the PPA.

-
Add the PPA by pasting the URL:
ppa:i2p-maintainers/i2pinto the PPA dialog.
-
Download the repository information with the "Reload" button.
-
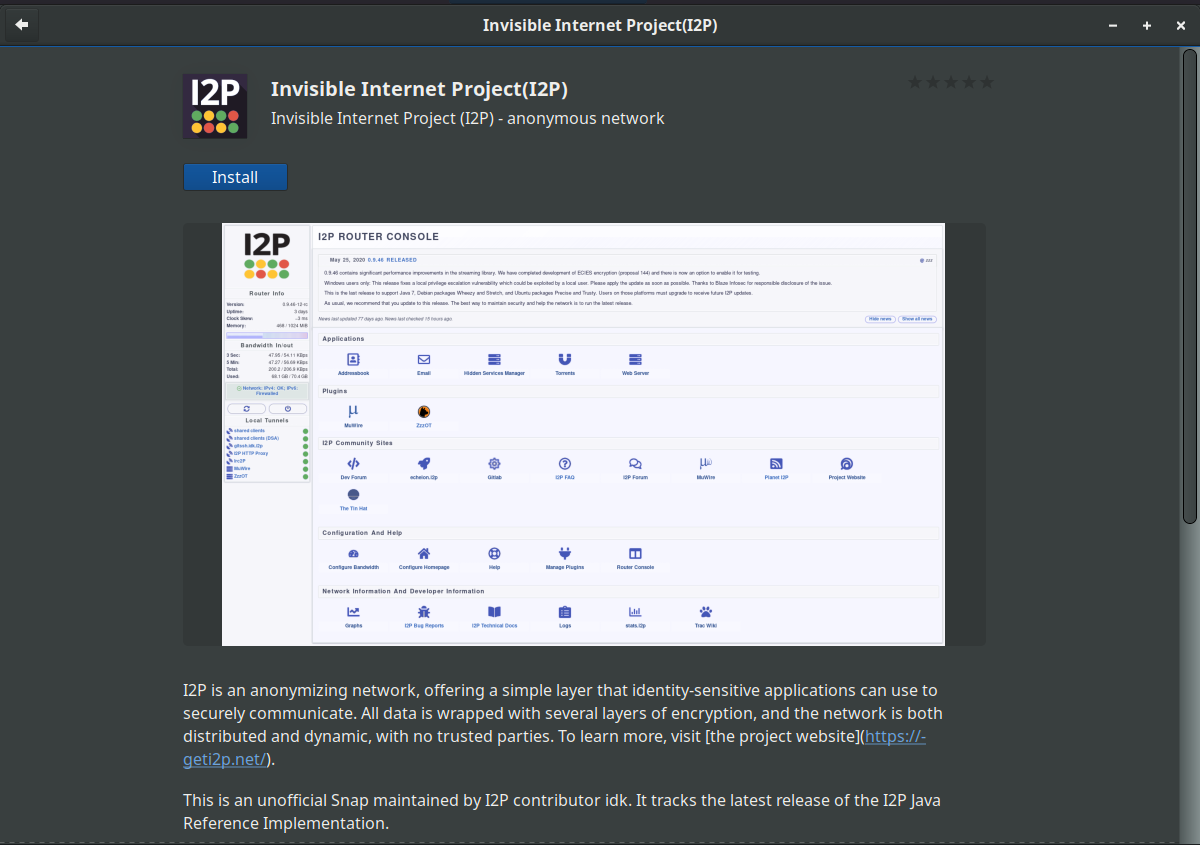
Install the I2P software using the "Software" tool from the
applications menu.
Instructions for Debian
NOTICE:
Our old Debian repos deb.i2p2.de and
deb.i2p2.no are EOL.
Please follow these instructions
to update to the new repository, deb.i2p.net.
Note: The steps below should be performed with root access (i.e., switching
user to root with su or by prefixing each command with sudo).
- ,
- Ensure that
apt-transport-https,curl,lsb-releaseare installed.sudo apt-get update sudo apt-get install apt-transport-https lsb-release curl -
Check which version of Debian you are using on this page at the Debian wiki
and verify with
/etc/debian_versionon your system. Then, for Debian Bullseye or newer distributions run the following command to create/etc/apt/sources.list.d/i2p.list.
# Use this command on Debian Bullseye or newer only. echo "deb [signed-by=/usr/share/keyrings/i2p-archive-keyring.gpg] https://deb.i2p.net/ $(lsb_release -sc) main" \ | sudo tee /etc/apt/sources.list.d/i2p.list# Use this command on Debian Downstreams like LMDE or ParrotOS only. echo "deb [signed-by=/usr/share/keyrings/i2p-archive-keyring.gpg] https://deb.i2p.net/ $(dpkg --status tzdata | grep Provides | cut -f2 -d'-') main" \ | sudo tee /etc/apt/sources.list.d/i2p.list# Use this command on Debian Buster or older only. echo "deb https://deb.i2p.net/ $(lsb_release -sc) main" \ | sudo tee /etc/apt/sources.list.d/i2p.list# Use this command on Debian Buster or older only. echo "deb https://deb.i2p.net/ $(dpkg --status tzdata | grep Provides | cut -f2 -d'-') main" \ | sudo tee /etc/apt/sources.list.d/i2p.list - Download the key used to sign the repository:
curl -o i2p-archive-keyring.gpg https://geti2p.net/_static/i2p-archive-keyring.gpg - Display the key fingerprint.
gpg --keyid-format long --import --import-options show-only --with-fingerprint i2p-archive-keyring.gpg7840 E761 0F28 B904 7535 49D7 67EC E560 5BCF 1346 - Copy the keyring to the keyrings directory:
sudo cp i2p-archive-keyring.gpg /usr/share/keyrings/etc/apt/trusted.gpg.d.sudo ln -sf /usr/share/keyrings/i2p-archive-keyring.gpg /etc/apt/trusted.gpg.d/i2p-archive-keyring.gpg -
Notify your package manager of the new repository by entering:
sudo apt-get update - You are now ready to install I2P! Installing the
i2p-keyringpackage will ensure that you receive updates to the repository's GPG key.
sudo apt-get install i2p i2p-keyring
After the installation process completes you can move on to the next part of starting I2P and configuring it for your system.
Post-install work
Using these I2P packages the I2P router can be started in the following three ways:-
"on demand" using the i2prouter script. Simply run "
i2prouter
start
" from a command prompt. (Note: Do not use sudo or run it as root!) -
"on demand" without the java service wrapper
(needed on non-Linux/non-x86 systems) by running "
i2prouter-nowrapper". (Note: Do not use sudo or run it as root!) -
as a service that automatically runs when your system boots, even
before logging in. The service can be enabled with "
dpkg-reconfigure
i2p
" as root or using sudo. This is the recommended means of operation.
When installing for the first time, please remember to adjust your NAT/firewall if you can. The ports to forward can be found on the network configuration page in the router console. If guidance with respect to forwarding ports is needed, you may find portforward.com to be helpful.
Please review and adjust the bandwidth settings on the configuration page, as the default settings of 96 KB/s down / 40 KB/s up are fairly conservative.
If you want to reach I2P Sites via your browser, have a look on the browser proxy setup page for an easy howto.